Fixed travel button on Blogger
Once you have customized Travelfinder® and The Travel Button® follow the steps below to install it on your website:
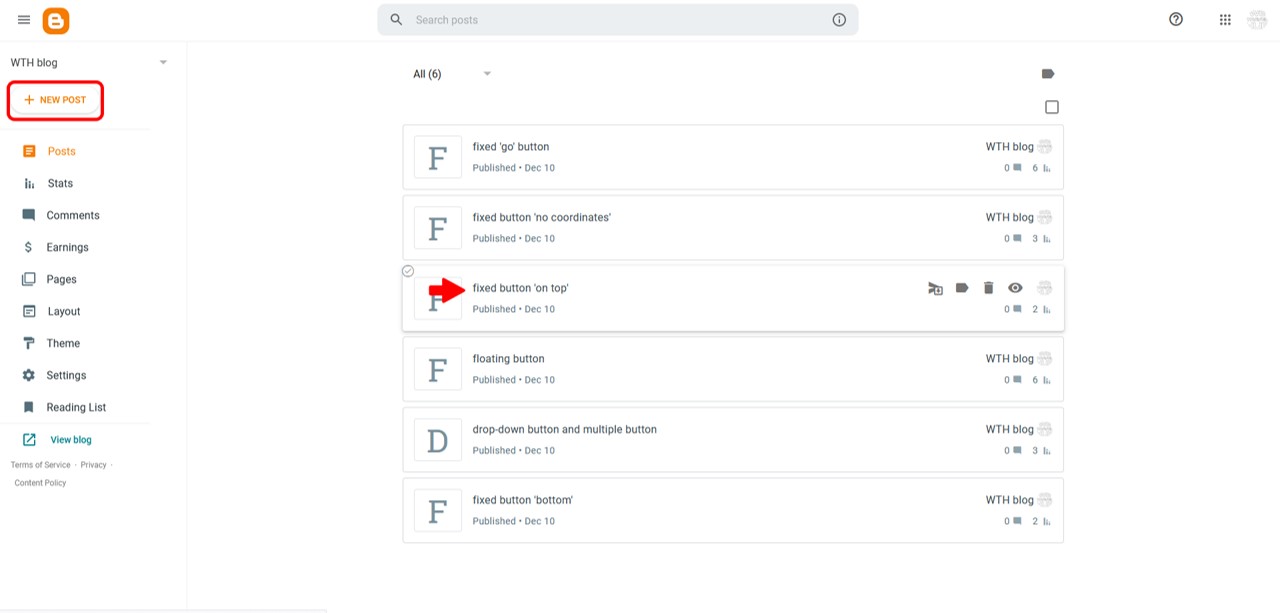
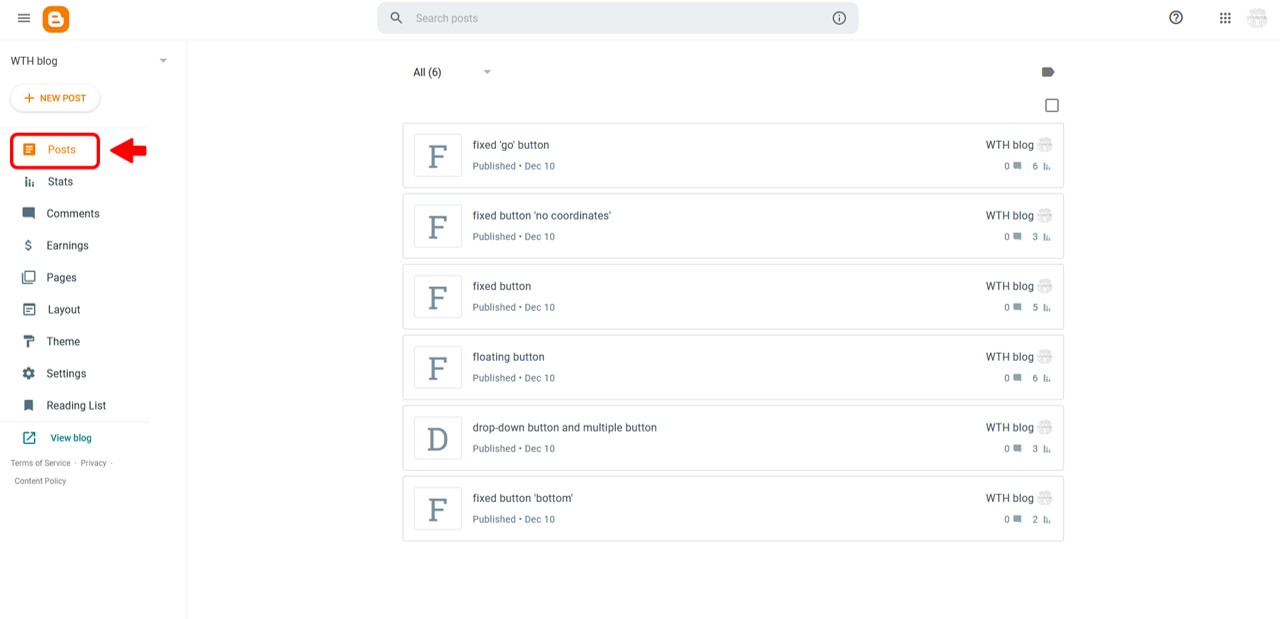
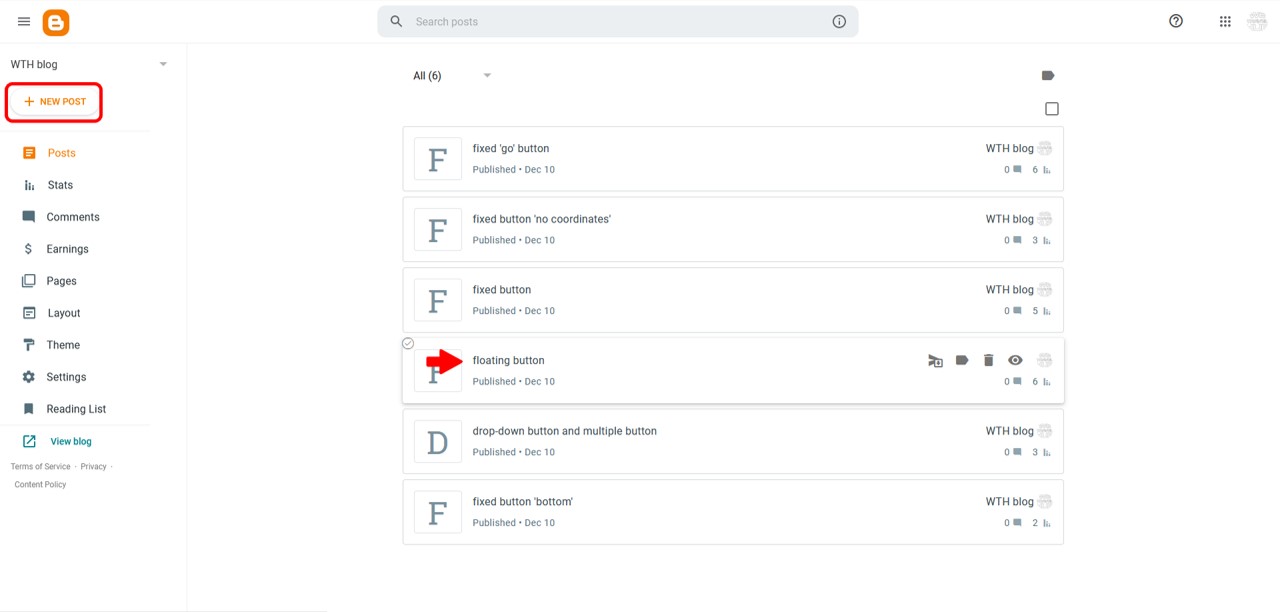
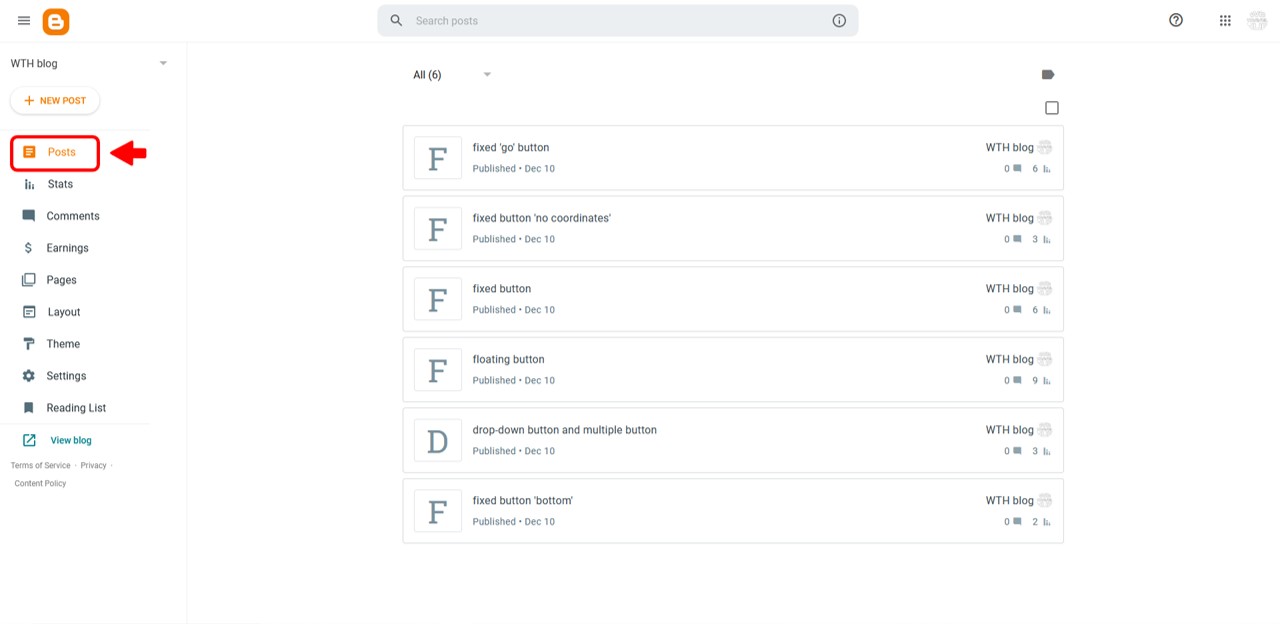
1) On your Blogger Dashboard click the ‘Posts’ tab.

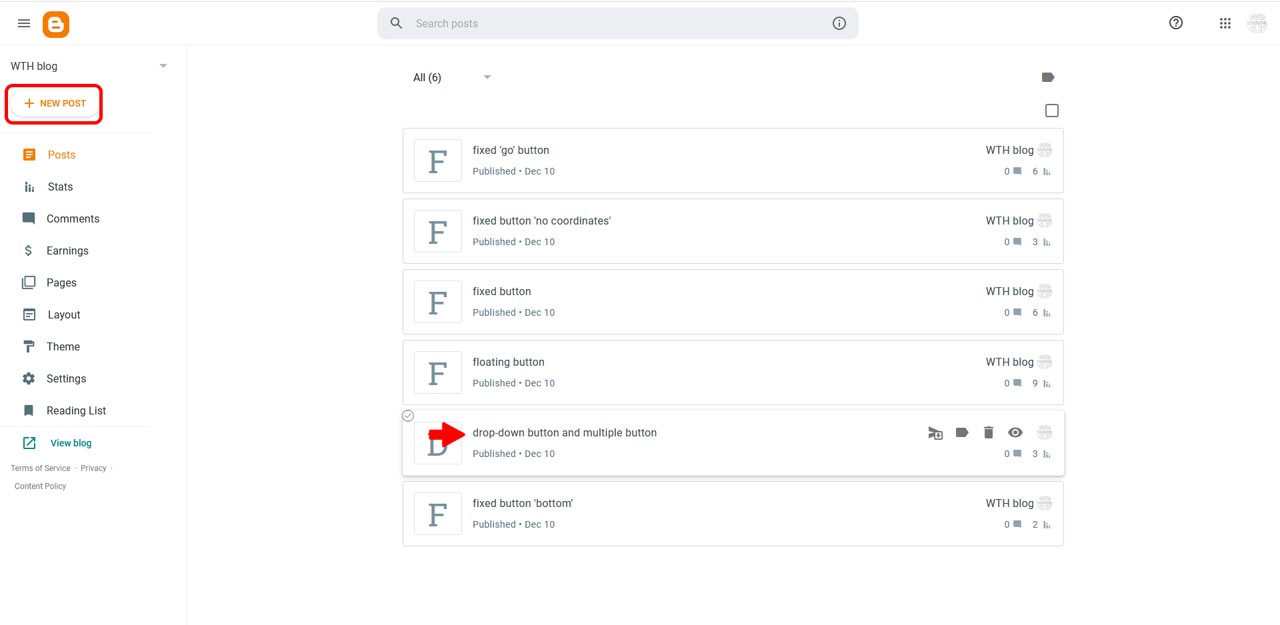
2) You can click ‘New Post’ and install The Travel Button® while posting new content, or you can install it on an older post. To do this, click the post’s title.
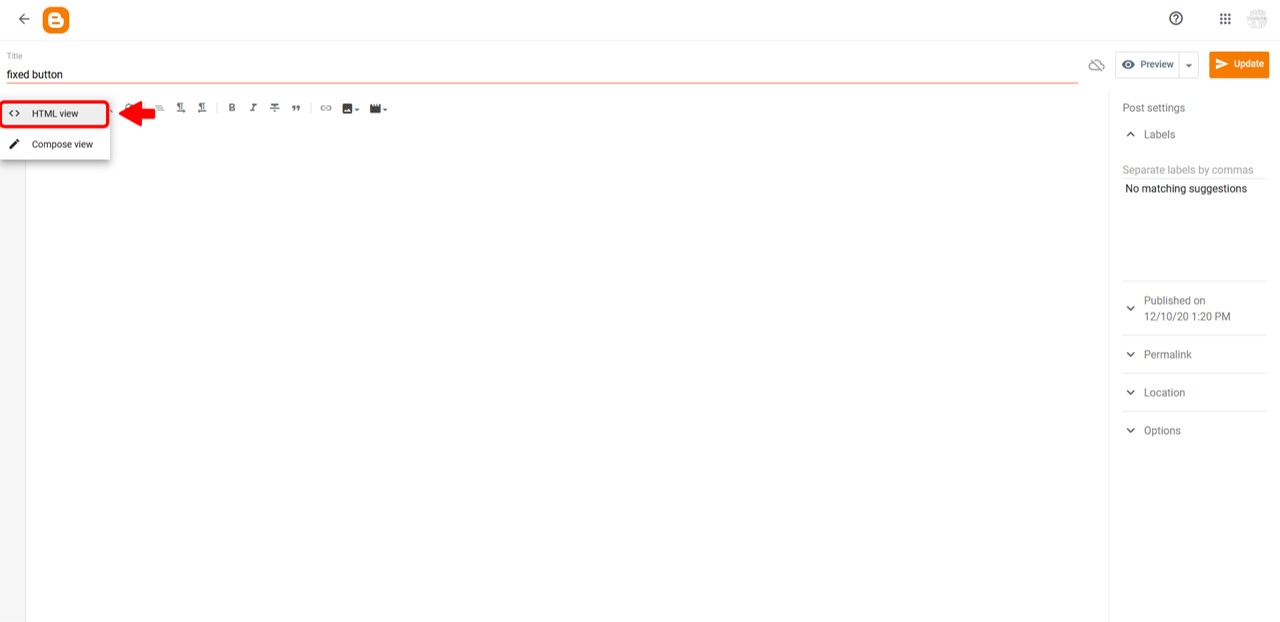
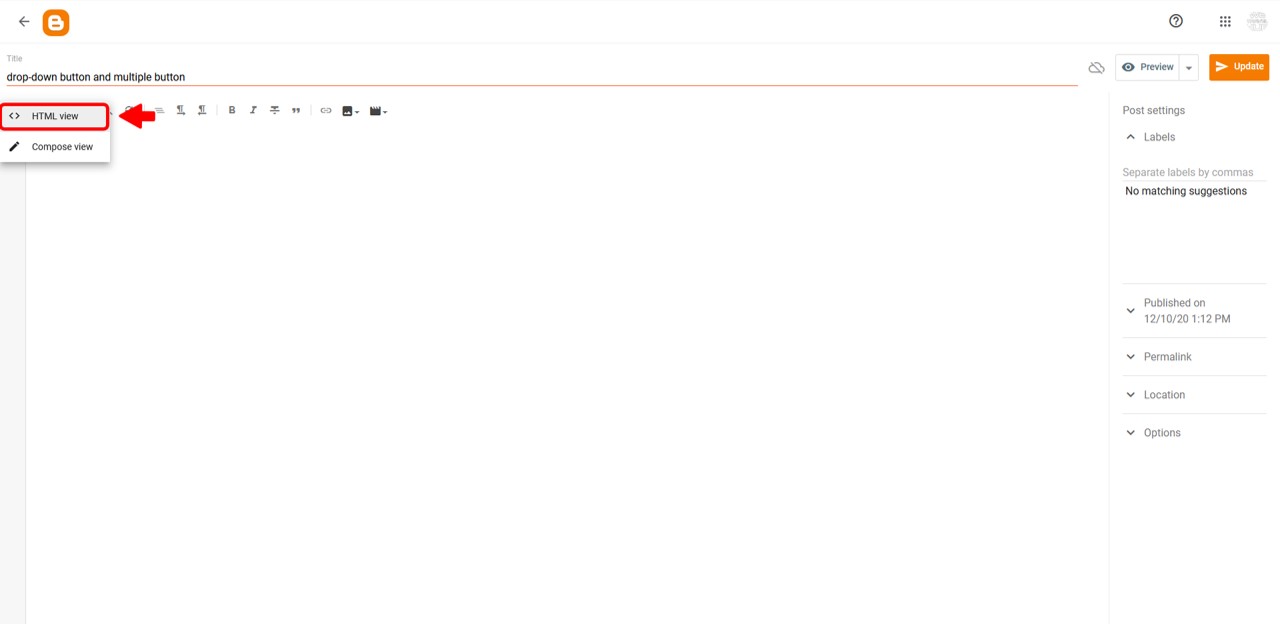
1) In this example, we will add a travel button to a new blog post. To do this, once you have clicked 'New Entry' and accessed the content editor, click the first icon in the toolbar and select 'HTML view'.
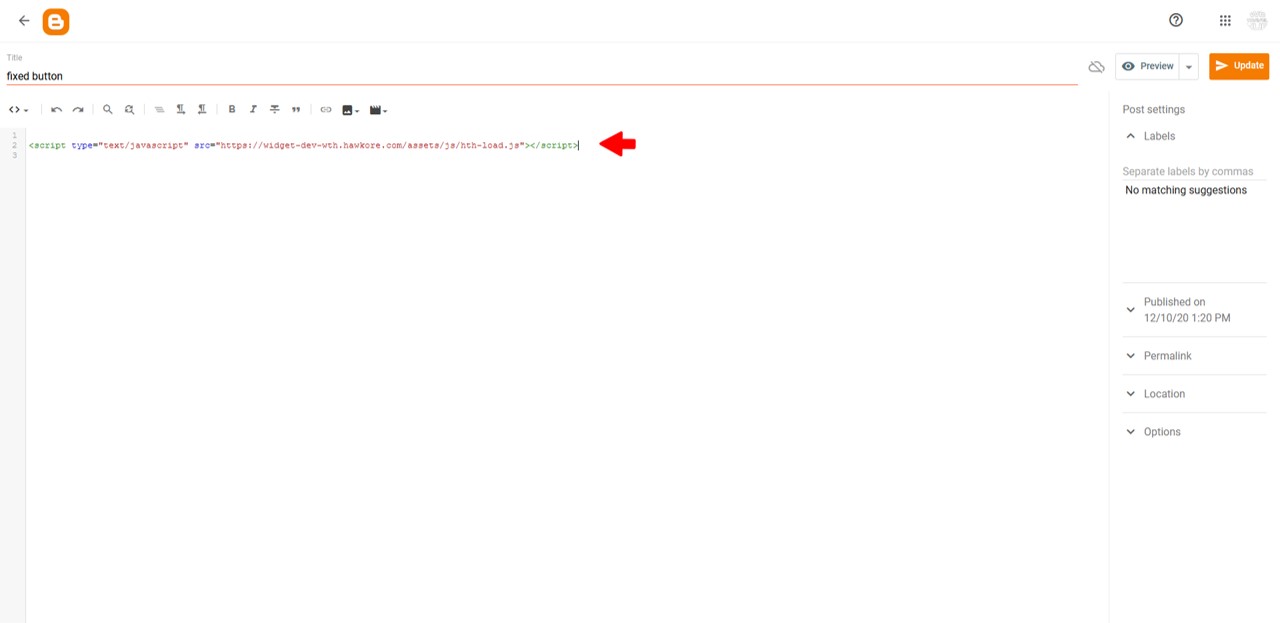
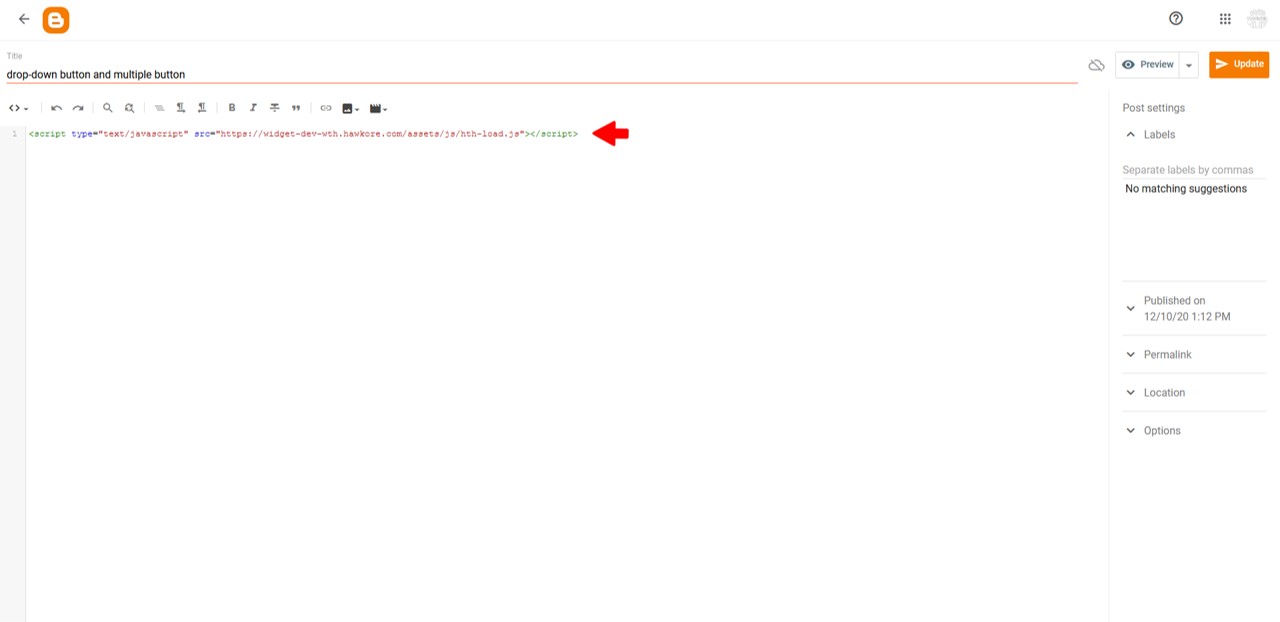
2) Go to the installation tab in the control panel section of your private area and copy the <script>.
3) Paste the <script> into your Blogger editor.
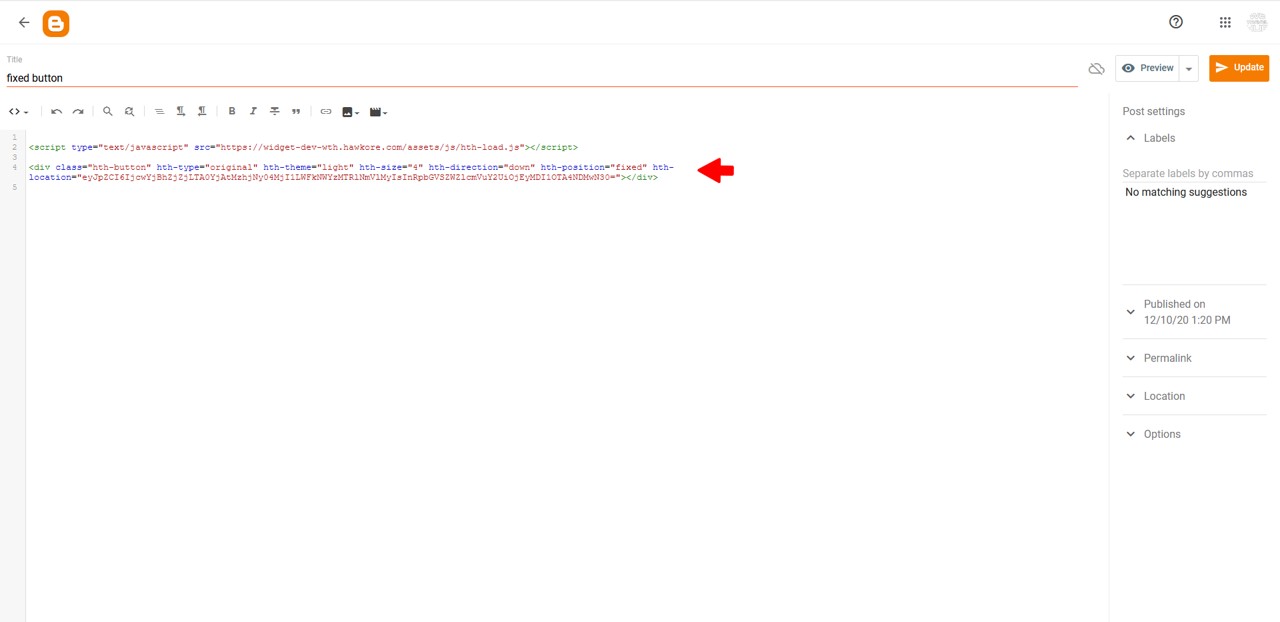
4) Do you know where you want to place your button? In this example, we will place it at the top of the page, but you can do it between paragraphs or at the bottom of your post.
5) Go back to the installation tab in the control panel section of your private area and copy your button’s.
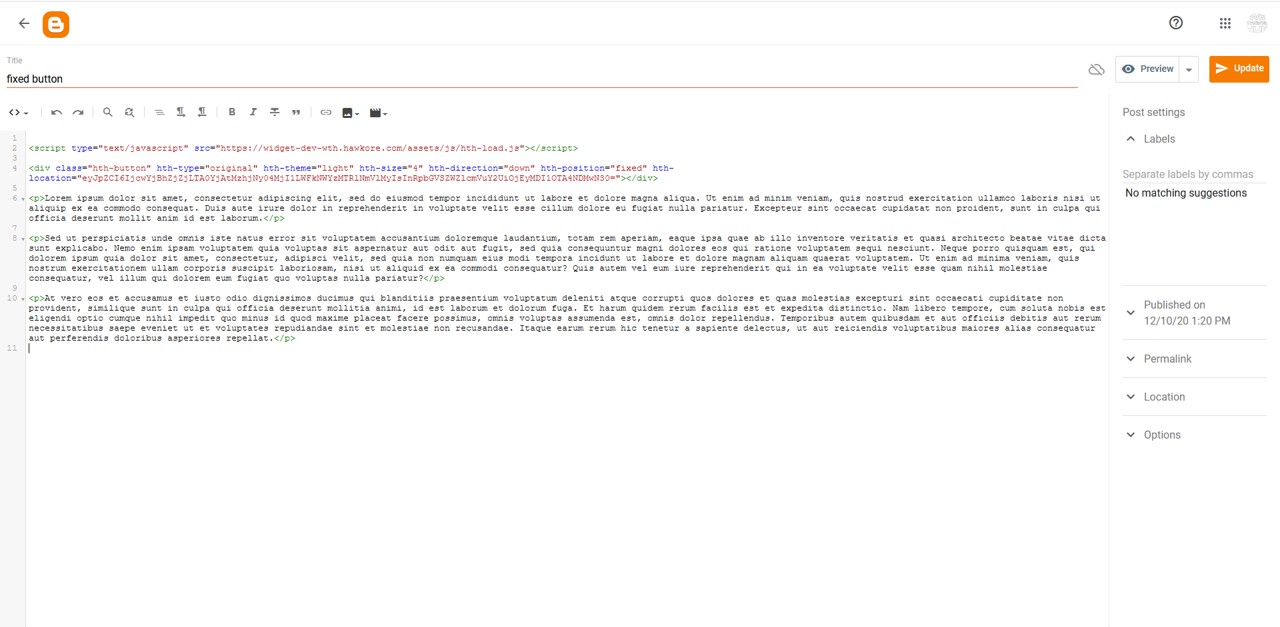
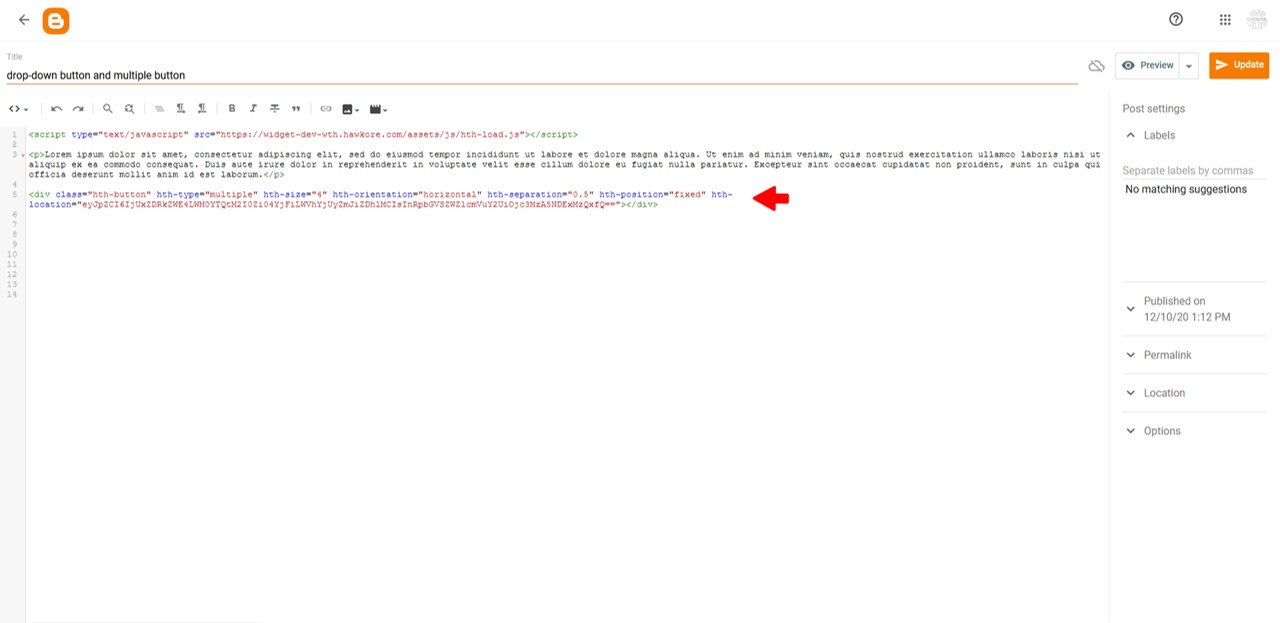
6) To place it at the top of the page simply paste the button’s code below the load script.
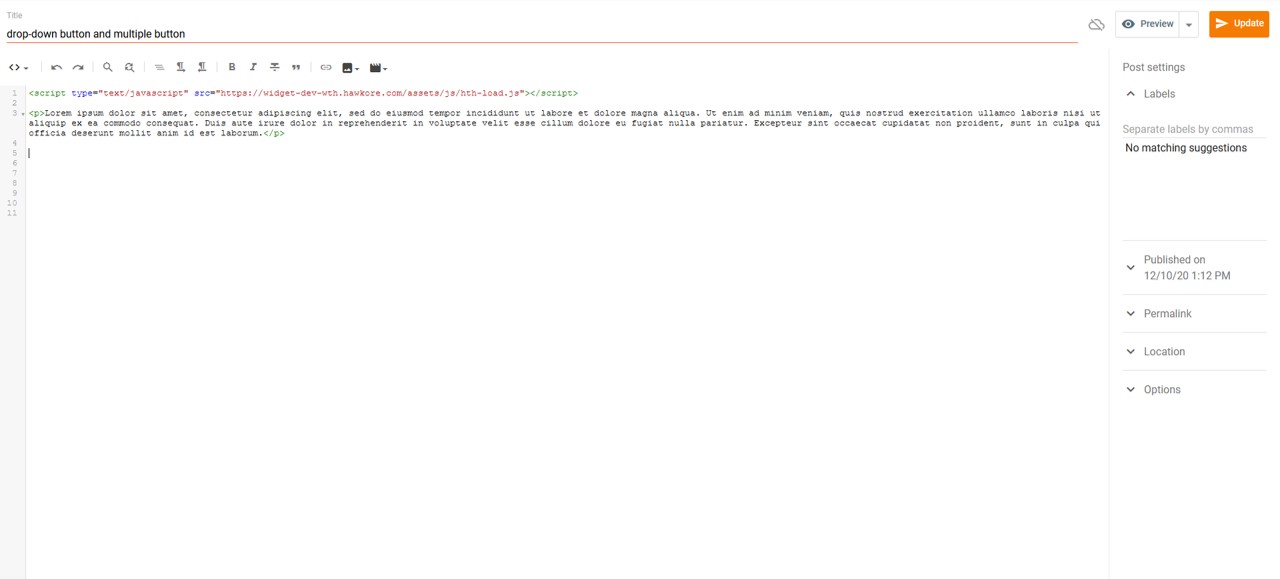
7) Add your content. If you are writing in 'HTML View' mode, you must separate paragraphs with the elements '<p>' and '</p>'. Although you can switch to 'Compose view' to edit your text without having to worry about the HTML.
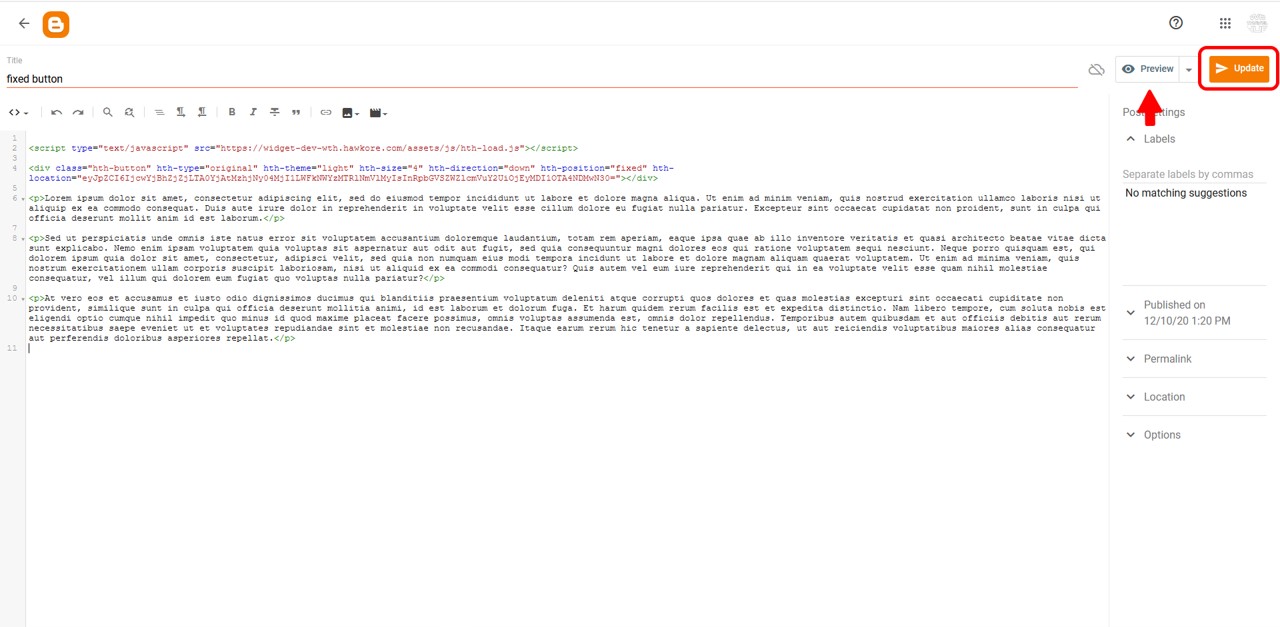
8) If you are working on a post that has already been published, click > Update, in the upper right corner of your screen. On a new post, the same button will say 'Publish'. In either case, before you give your approval, you can check your button by clicking > Preview.
Ta-da! You’ve done it.
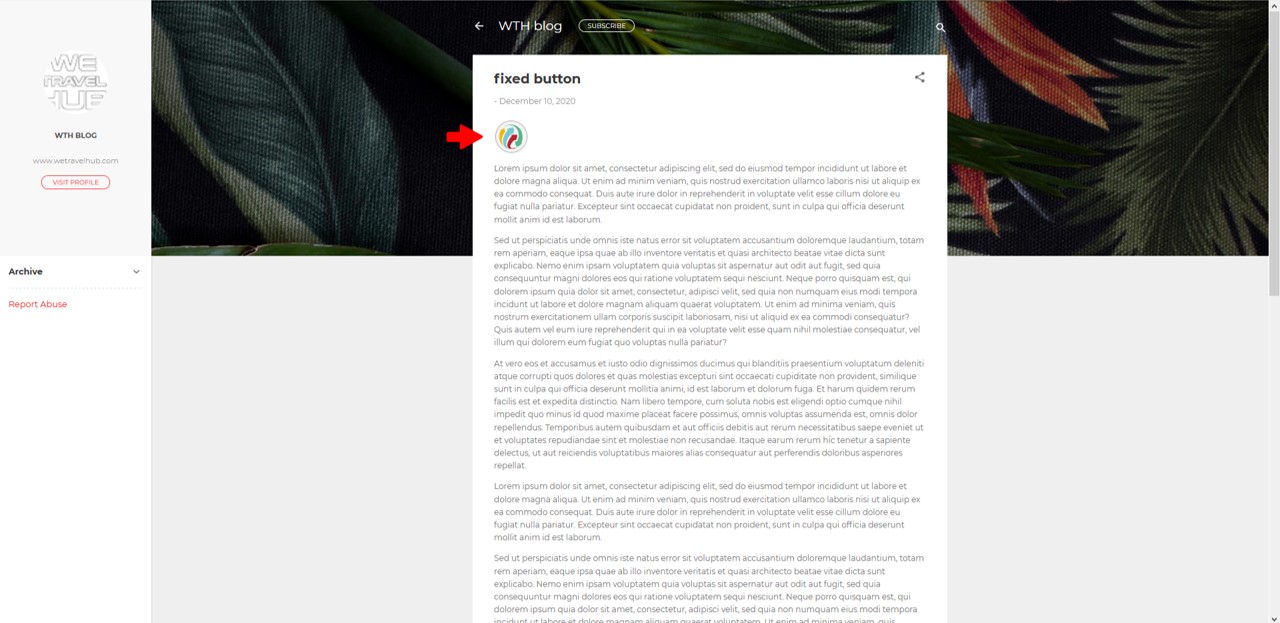
Please note that the button’s position will depend on the style sheet of your website. In this example, we use Blogger’s Contempo theme, and by default, the button is aligned to the left. You can't remove the hth.button class from our <div>, but you can add styles to change the button’s position within your post.
Floating travel button on Blogger
Once you have customized the button to your liking, follow the steps below to install it on your website:
1) On your Blogger Dashboard click the ‘Posts’ tab.
2) You can click ‘New Post’ and install The Travel Button® while posting new content, or you can install it on an older post. To do this, click the post’s title.
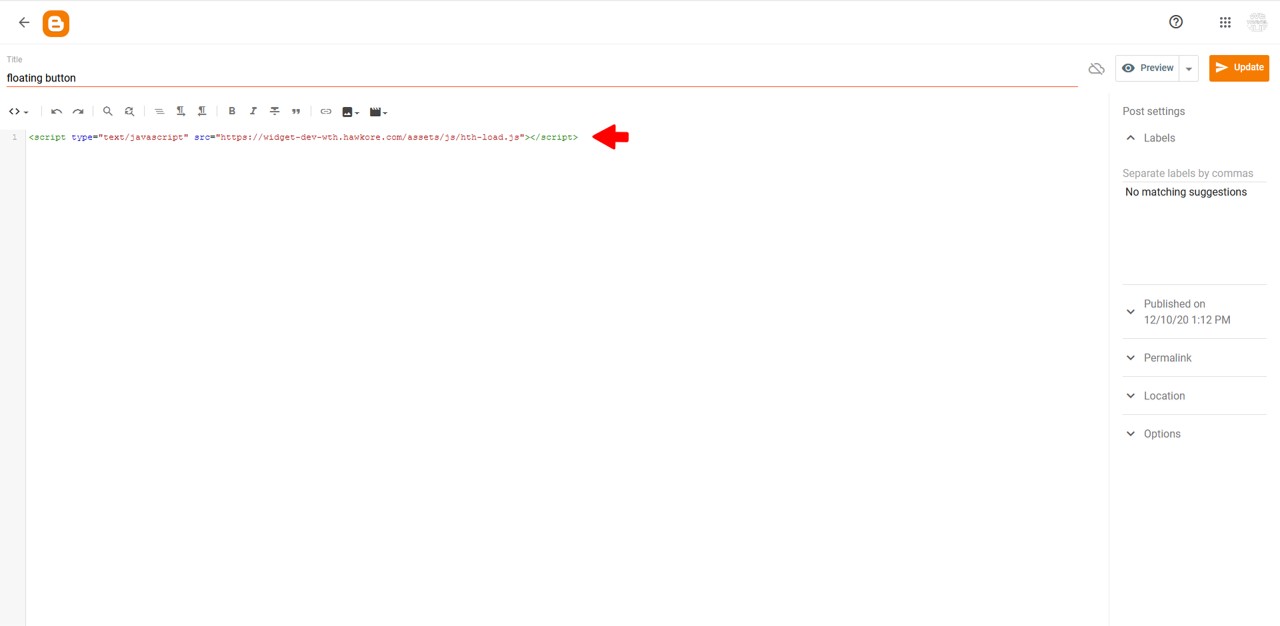
1) In this example, we will add a travel button to a new blog post. To do this, once you have clicked 'New Entry' and accessed the content editor, click the first icon in the toolbar and select 'HTML view'.

3) Go to the installation tab in the control panel section of your private area and copy the <script>. This <script> will allow the button to load on your website.
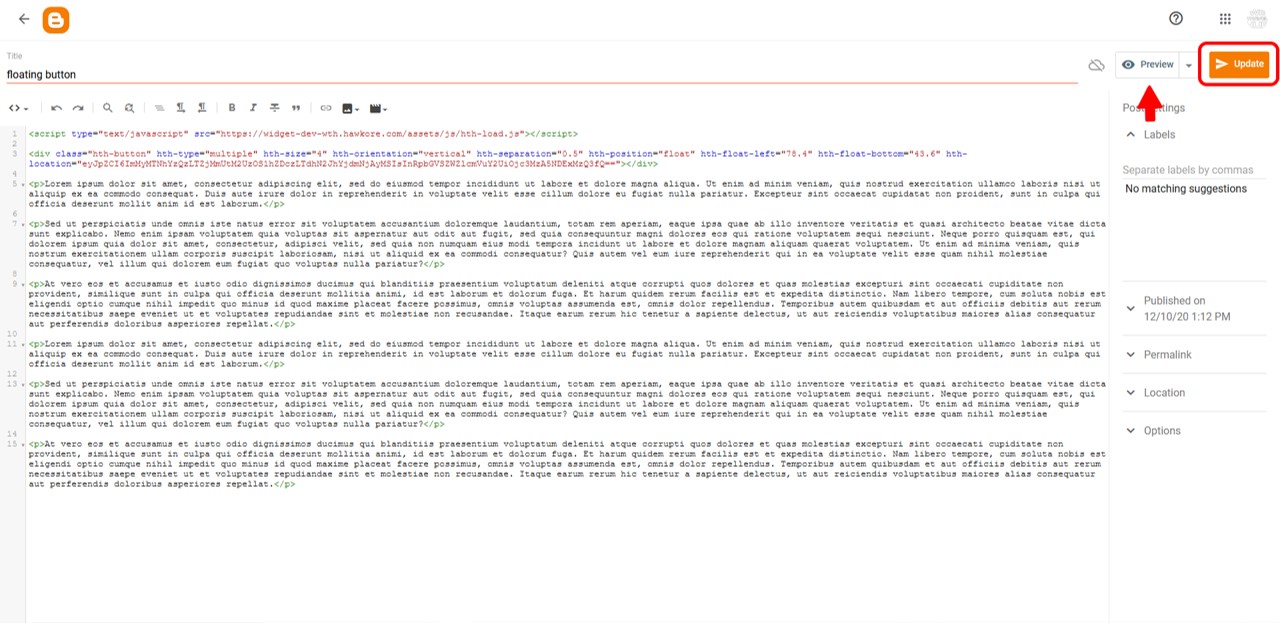
4) Paste the <script> into your Blogger editor.
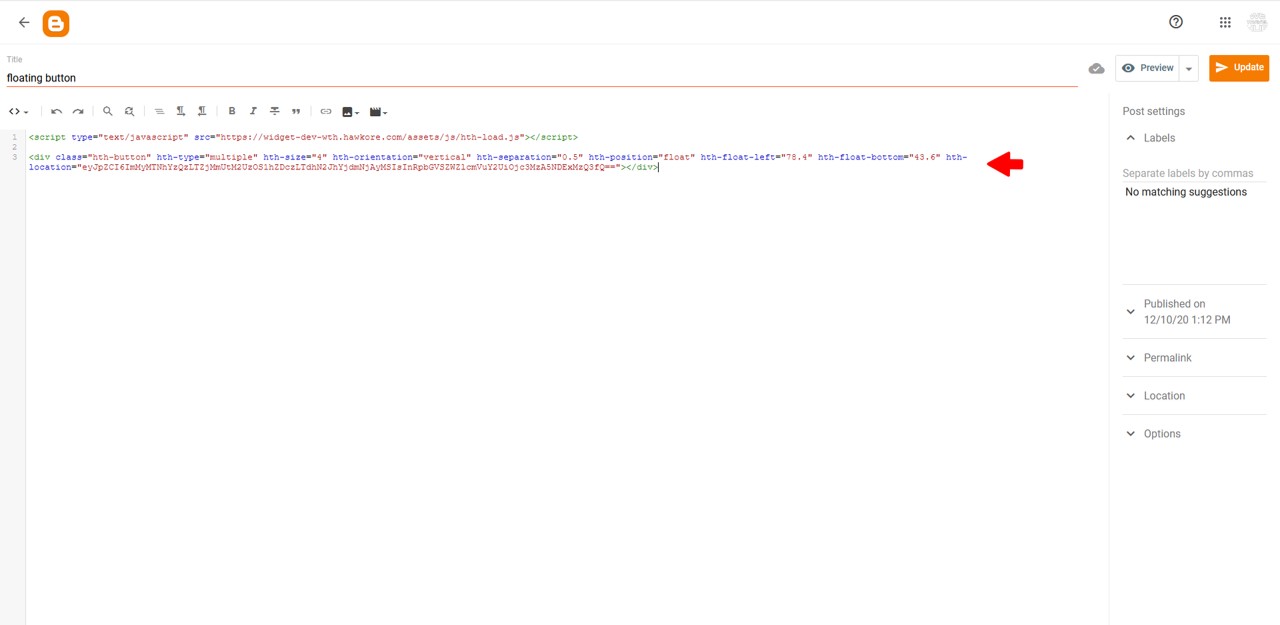
5) Since you are adding a floating button to one of your posts, you chose its place when you customized it. Therefore, where you paste the code in the body of your post is irrelevant. In this example, we are going to paste it at the beginning, below the load <script>.
6) Go to the installation tab in the control panel section of your private area and copy your button’s.
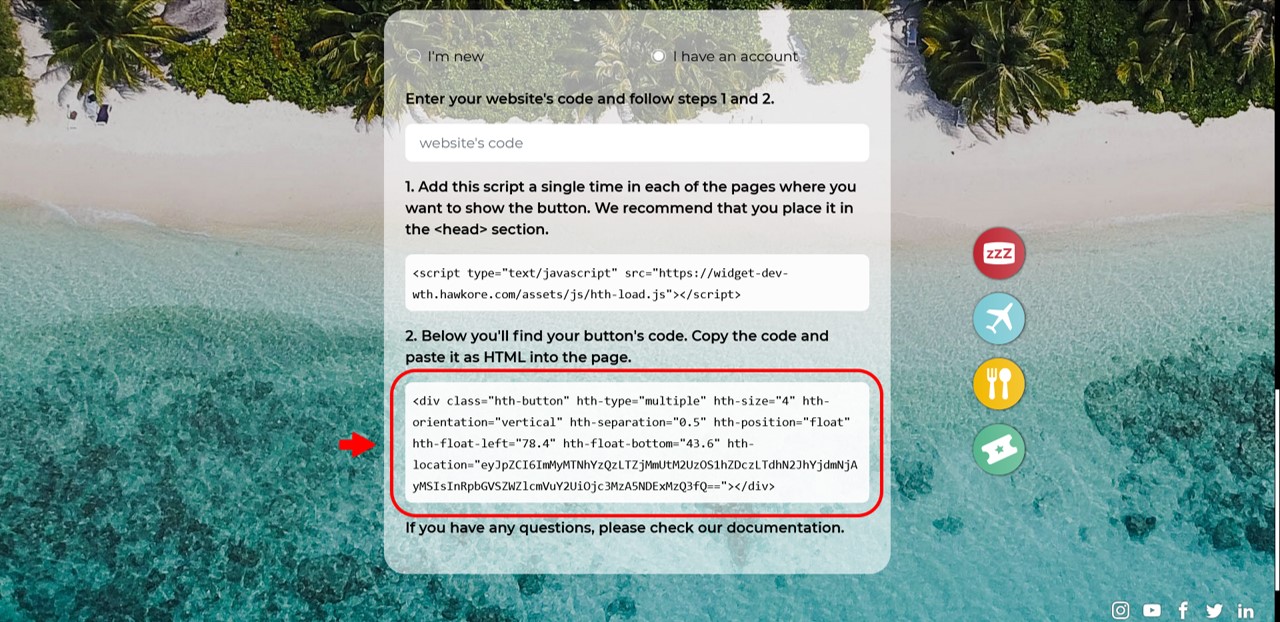
7) Paste the button’s code below the load script.
8) Add your content. If you are writing in 'HTML View' mode, you must separate the paragraphs with the elements '<p>' and '</p>'. Although you can switch to 'Compose view' to edit your text without worrying about the HTML.

9) If you are working on a post that has already been published, click > Update, in the upper right corner of your screen. On a new post, the same button will say 'Publish'. In either case, before you give your approval, you can check your button by clicking > Preview.
Ta-da! You’ve done it.
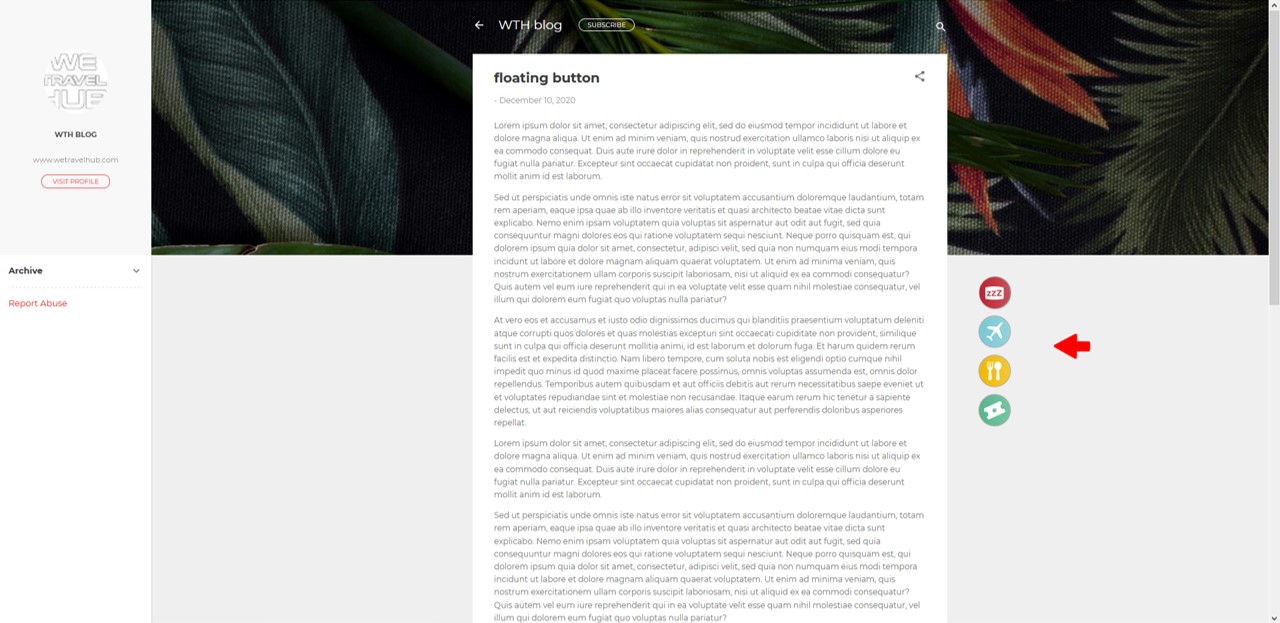
Please note that when you install a floating button, for it to work properly, you should not use any other buttons.
If you try to add more than one floating button, none of them will be displayed. If you use fixed buttons in addition to a floating button, only the fixed buttons will be displayed.
Several fixed buttons on Blogger
Once you have customized the first button to your liking - in this example, the multiple fixed button - follow the steps below to install it on your website:
1) On your Blogger Dashboard click the ‘Posts’ tab.
2) You can click ‘New Post’ and install The Travel Button® while posting new content, or you can install it on an older post. To do this, click on the post’s title.
3) In this example, we will add a couple of The Travel Button® to a new blog post. To do this, once you have clicked 'New Entry' and accessed the content editor, click the first icon in the toolbar and select 'HTML view'
4) Go to the installation tab in the control panel section of your private area and copy the <script>. This <script> will allow the button to load on your website.
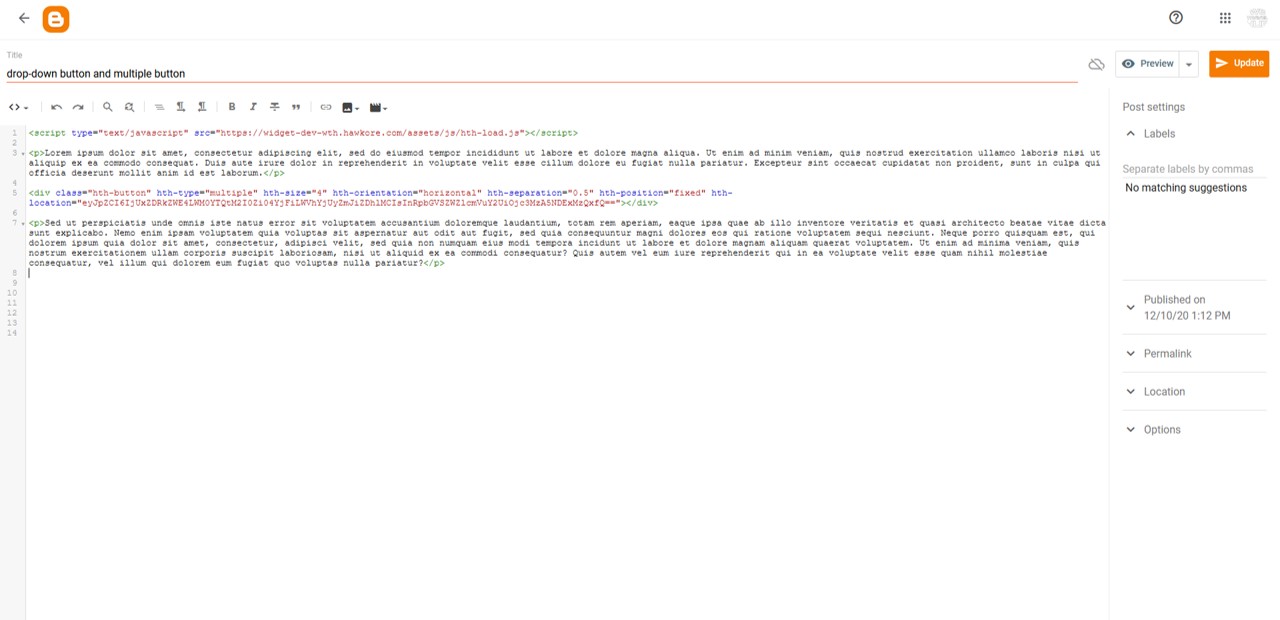
5) Paste the <script> into your Blogger editor.
6) In this example, we are going to place the multiple button between paragraphs, and the drop-down button at the bottom of the post.
7) Add content. If you are writing in 'HTML View' mode, you must separate the paragraphs with the elements '<p>' and '</p>'. Although you can switch to 'Compose view' to edit your text without worrying about the HTML.
8) Go back to the installation tab in the control panel section of your private area and copy your buttonn’s code.
9) Paste the button’s code below your content.
10) Add some more content. Remember that if you are writing in 'HTML View' mode, you must separate the paragraphs with the elements '<p>' and '</p>'. Although you can switch to 'Compose view' to edit your text without worrying about the HTML.
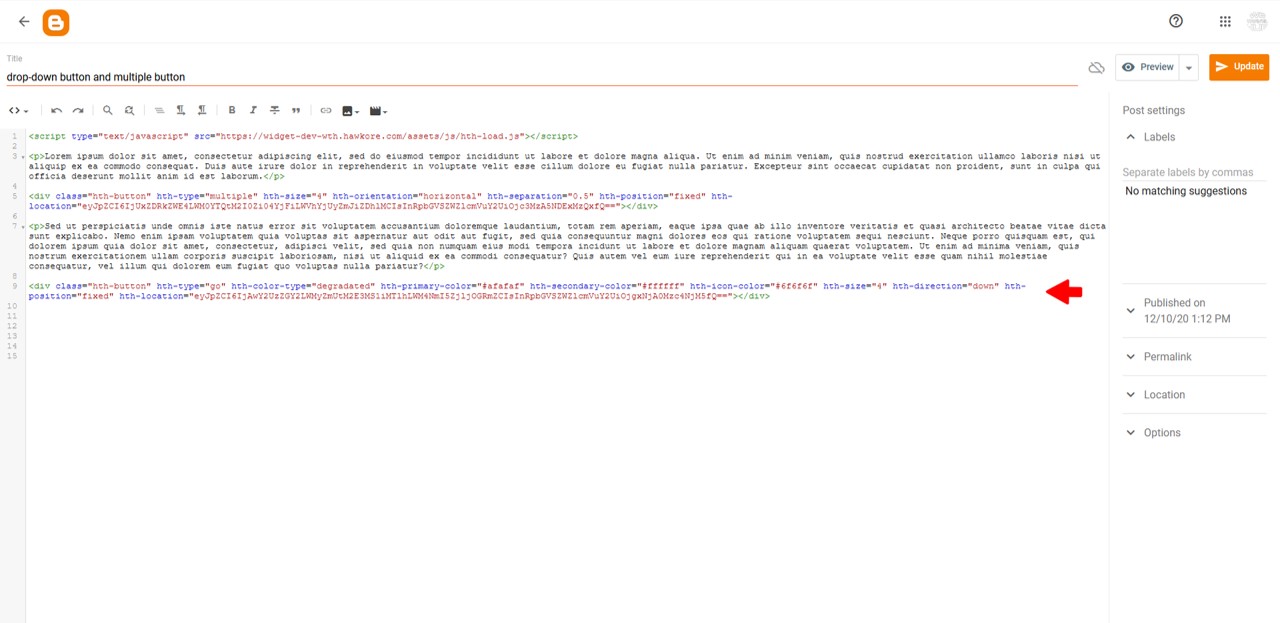
11) Go back to the installation tab in the control panel section of your private area and customize your second button and copy its code.
12) Paste the button’s code below your content.
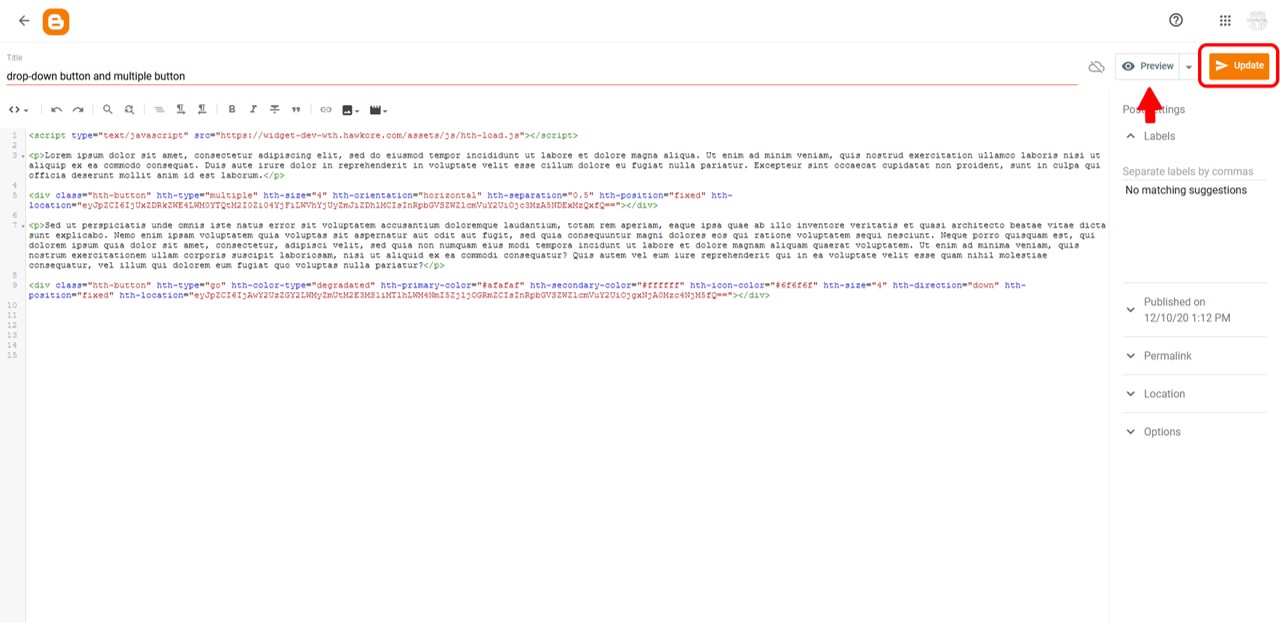
13) If you are working on a post that has already been published, click > Update, in the upper right corner of your screen. On a new post, the same button will say 'Publish'. In either case, before you give your approval, you can check your buttons by clicking > Preview.
Ta-da! You’ve done it.
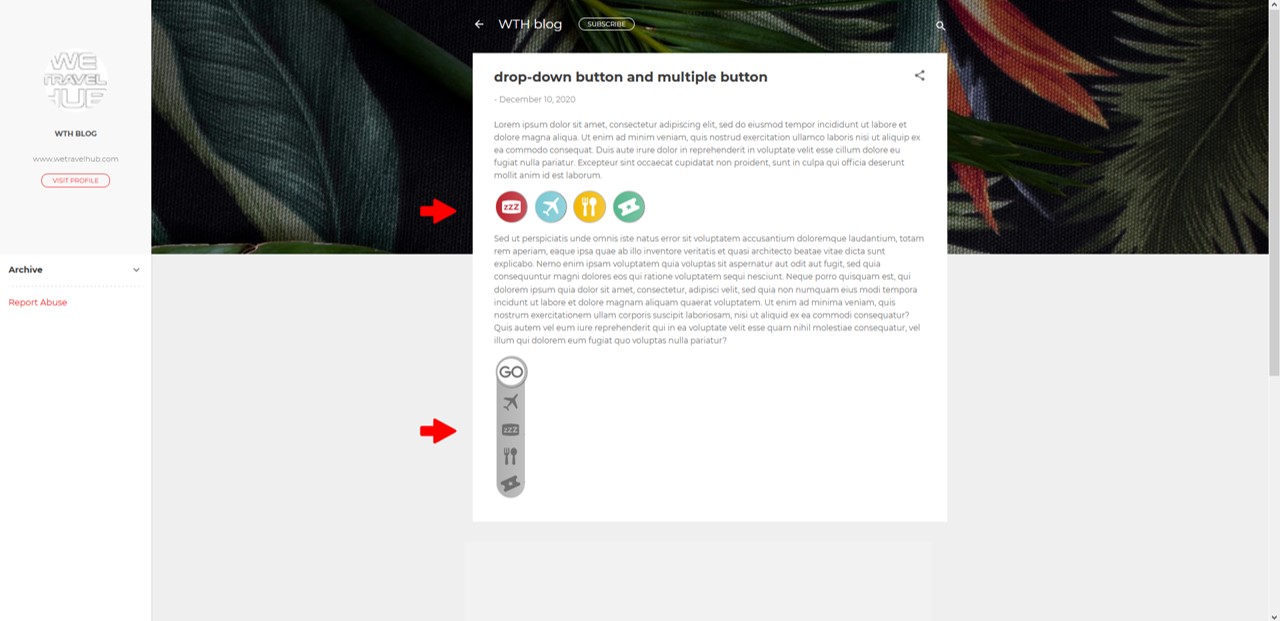
Please note that the buttons’ position will depend on the style sheet of your website. In this example, we use Blogger’s Contempo theme, and by default, the buttons are aligned to the left. You can't remove the hth.button class from our <div>, but you can add styles to change the buttons’ position within your post.